Today, we’ll talk about Mixing and Mastering, an area that gives the creeps to a lot of producers. Once you start to understand it, it becomes a bit simpler and actually fun to do. Don’t get me wrong, I’m still a student as well and always will be, but I consider that I’ve developed some knowledge over the years, and I’d like to share these six tips with you.

Tip #1 – Referencing
I’m a sucker for referencing. It is a concept heavily applied by many producers and especially by me for literally anything that I do.
Referencing is picking tracks from other producers and using them as a guide for your mixes or creations. It’s good to mention that referencing is not copying, but more of a guideline on where to go. If mixing is like driving on a highway, referencing are the guardrails of the highway which keep you on track to where you have to go while following your path within the road. One of my favorite reference track for trance is Paul Arcane’s Everest, but you can also use your own tracks as reference.
To some people, referencing can be quite limiting since it keeps you from going “out of the box”. Or, they say you’re copying something, but as Steven Slate says: “No one is too good to at least check a reference track to, at least, recalibrate their ears. (…) As soon as I listen to my reference mix, in twenty seconds, I know exactly where to put things in terms of frequency response, in terms of compression”.
Lastly, no one said you can’t say NO to something in a reference track. It’s not a map to the golden treasure that you have to meticulously follow, but a guide that you can choose to follow or not based on what you like in your track, and here is where your creativity and out of the box thinking lie.
To show how important I think this is, if I had to value these tips and I had 100 points to distribute among these 6 tips, this tip alone would receive 50 points, leaving 50 points left to be distributed among the other 5 tips.
Tip #2 – Write down what you need to do.
Write down your mixes issues in a limited to-do list rather than a never-ending pile of actions. To avoid over-doing it, write down what you need to do and which areas you need to attack before even starting the mix, and tackle them individually. After you do, start phase 2 of this to-do list, where it needs to be at least 40% shorter than the previous phase and keep doing this until you’re done with the mix.
The idea of this method is to pinpoint your actions and things that bother you in your mix, while at the same time making sure that you’re not constantly rechecking everything (that’s why your list has to be smaller for every future phase). By making sure that your list gets smaller in every phase, you’re making sure to you’re not overdoing nor underdoing what needs to be done or was already done. Not doing this could lead you into a never-ending mixing process where you keep changing things here and there and, in the end, never finish your track.
Tip #3 – Be intentional!
You need to do task A because you feel it needs to be done? Awesome. But if you’re doing it because you’ve seen your buddy doing it to his track so, therefore, it must be done to yours as well, don’t do it.
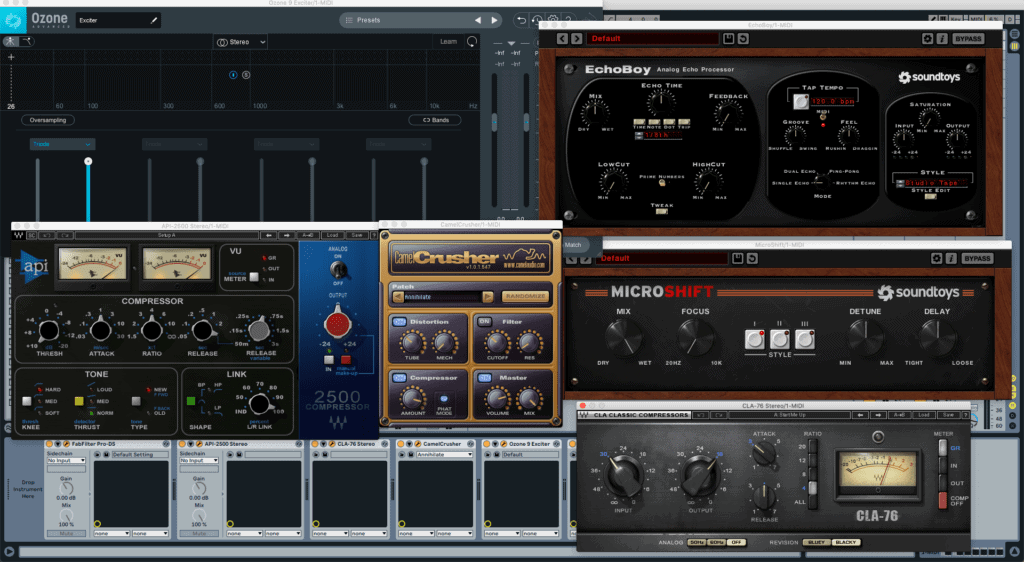
For example, some people cut their masters at 30hz because the audio below it is barely audible, so cutting it off creates headroom to increase the volume of the track. Awesome, you’re cutting it for a reason, not just because everyone does it. Just don’t do like the photo below, putting a lot of well-known plugins into a channel not knowing what they’re doing. It surely is a nice pic, but it is no good for your track.

Tip #4 – Leave your master chain to the mastering process
This is a controversy among producers… some produce their tracks with the master chain activated while others just put the master chain on during their mixing and mastering process. I, personally, do not put the master on in my “Production Phase” since I want to listen to the song by itself, as it really sounds without the mastering chain.
That came from one collaboration I was doing back in 2016 and it was really frustrating when I took the mastering chain off and what was outstanding became horrible. After that, I decided to have and listen to my channels with no bias in mind, listening to how the channels really sound with no compression or imaging in the master chain.
When I then go to the mixing & master process, I render all the stems of the creation project and the first thing I do is turn on the master chain. Now, in the mixing stage, I want to mix it having in mind how it will later turn out. The difference stands in the phases’ purposes:
- Creation project: As the name says, to create and put the sound to how you want it to be, regardless of how it will be mastered afterwards. Of course I make some decisions already thinking about the mixing, but I want to listen to the sounds as they are.
- Mixing and Mastering project: Time to lapidate what we’ve created in the creation project. Our goal is to convert what we made into what fits the label we want to send to, so we need to carve some things out or push some other stuff. Now, I want to listen to it already with how it will sound in the end because that’s what this part is for.
Tip #5 – Your master should not change how your track sounds, just enhance it.
I used to think that once I sent my track to mixing and mastering, all my issues would be solved since that’s what mixing and mastering was for. In my opinions, that’s not how it is supposed to be, especially because some mistakes can’t be solved in the mixing and mastering stage.
I see two stages in a track’s creation life: Production Phase and Mixing and Mastering Phase, as said before. If I had to value them, Production phase ranges from 0 to 100 points, and Mixing and Mastering ranges from 0 to 1.1 points. Therefore, a track worth 100 points in the production phase can be taken to 110 (100 x 1.1 = 110) with a killer mix and master, but not more than that.
What that says is: your mix and master can enhance how your song sounds by making it cleaner, maybe more vibrant, and louder, but it is not supposed to change how it sounds, just enhance it. In other words, with your mastering chain on, your track needs to sound the same or slightly better than how it did without it.
Tip #6 – Render stems and mix and master separately
As I have said, after I finish the creation of the project, I render all the stems and mix them in a separate project. This is not a rule, but a thing that I like and always do.
There are a couple reasons for that:
- Keeping the audio intact: I want to keep the audio of the tracks regardless of VSTs installs/uninstalls. This way I’ll never lose what I’ve done, even if I uninstall a key VST for that track.
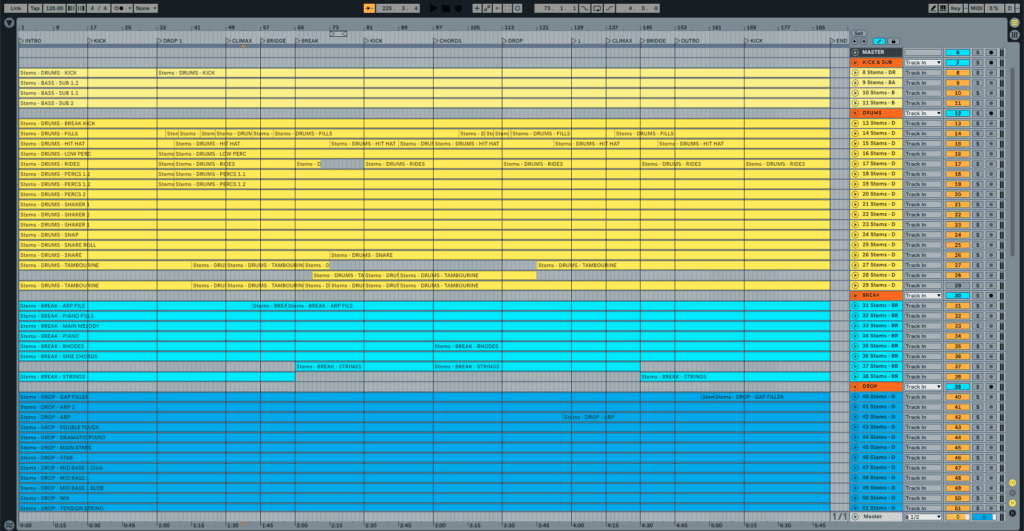
- It clears my production mindset and I start the mix and master mindset: New project, no plugins, no ways to redo the sound design of that bass, so you can have a fresh start for this project with just the audio in place. In other words, I’m intentionally locking myself into audio to avoid further tweaking of the track. Of course, you can always go back to the project and tweak, but I avoid and I make it as painful as it can be to re-render all stems to discourage me from doing it again. Below you can see a picture of how I lay down my stems:

You can see me doing this a bit more in-depth in this post.
These are the main Mixing & Mastering I believe will speed up your workflow when working on your track. Do you have any crucial tip that you would like other people to check as well? Leave us a comment with it and we’ll consider updating this post with it.