I underestimated the Low End, and that’s today we’re completing this series in a exclusive post about “KICK”
During my low end series, I talked about the sub and the second octave, but I forgot to talk about the most important element of a track: The KICK. It literally can make or break your track. Here’s what you will achieve if you follow this guide:
Therefore, today we’ll talk about some topics that are really important for your tracks::
- Finding the Best Sample
- Sampling From Sample Packs
- Sampling From Other Tracks
- Creating Kicks
- Combining Samples
- Finding the Right Level of Your Kick
- Do You Need to Have Your Kick in Key With the Track?
Let’s dive right in!
Finding the Best Sample
One of the most important elements of your track, the kick is the element that can enhance a track vastly if chosen right. At the same time, choose a wrong sample and you could be looking at some problems that no other element may be able to solve.
Four main alternatives come to mind when selecting them: Creating them, sampling from other tracks, sampling from sample packs and combining samples.
Sampling From Sample Packs
This is the easiest way because it simple involves finding a sample that you like and you drag it to your project. It can be a tedious process, however, due to the amount of samples available.
My favorite sample pack for kicks is Vengeance Electroshock Vol.2, and I’ve used SEVERAL samples from this sample pack in my tracks. Not only have I used, but I’ve identified samples being used by Dubvision, Avicii, Martin Garrix and Hardwell, for example, in this same pack.
Sampling From Other Tracks
Sampling from other tracks is my favorite way of choosing kicks. This technique consists of finding kicks that you like in other tracks and ripping them to your track.
There are several processes of ripping them from tracks, and I’ve done a video, and a post, on how to extract kicks from tracks that you love. Check it out below:
My technique of extracting kicks, and that’s the way that I find all my kicks, involves a bit of the first method presented by Big Z and a bit more of Eqing. Instead of using one crossfade, I use around 4 crossfades and combine them. This involves me rendering these bands separately and then later combining them into one layer.
Creating Kicks
Creating your kick is an effective way to choose it if you have familiarity with its synthesis. Not only does it give you more control to make slight alterations for your next tracks but it also helps you have more flexibility with the length and power that you want.
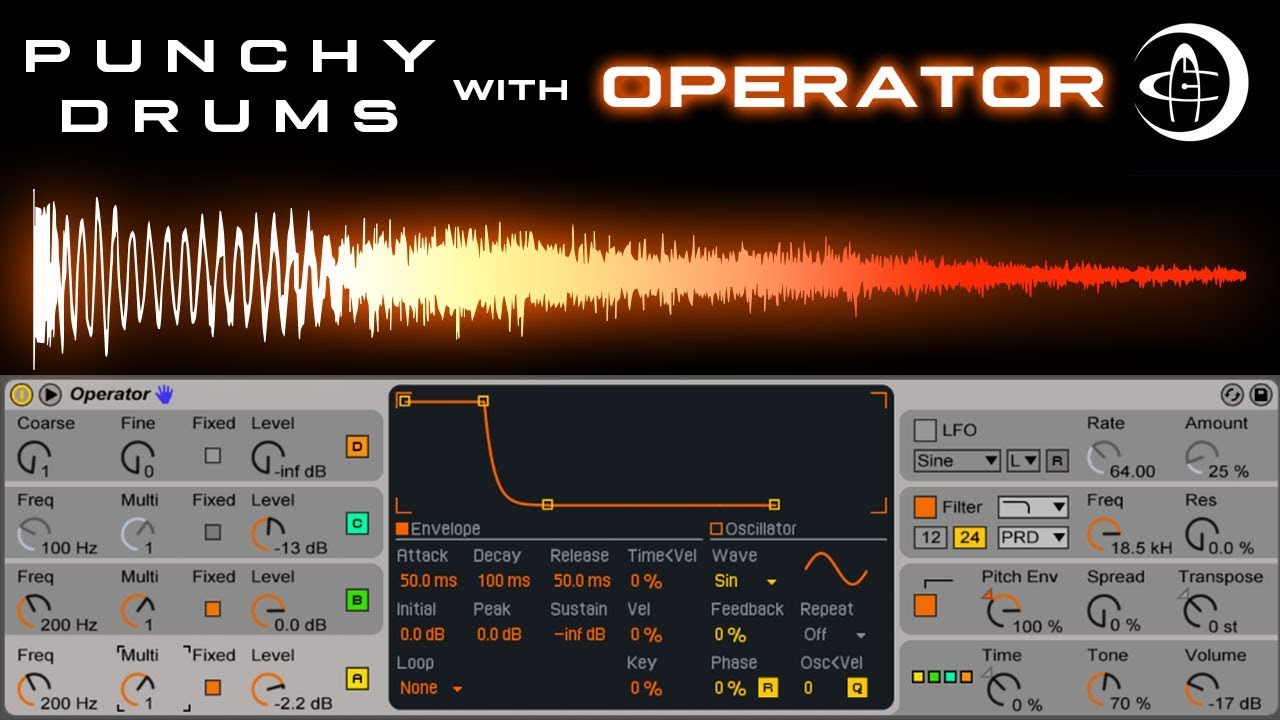
A good example of this is Au5’s video on how to synthesize them. The best plugin to make this, in my opinion, is Kick 2, by Sonic Academy, although you can achieve amazing results with Serum and Operator (if you use Ableton).
Combining Samples
Combining samples can be a mix of these three methods and comes a little closer to creating your own sample. Basically saying, let’s say you like the attack from Sample A and the low punch from Sample B. Why not combine them? Use an EQ then grab the low end from one and the high end from another.
Finding the Right Level of Your Kick
Now that you know how to find the best sample, it’s time to find the right volume for your kick, and my process is pretty methodical. You don’t have to apply this or stick to the volume that this guide sets your kick to, but it is a good way to find a reference point to anchor it. You can read more about it in this post!
- Find two tracks you like and match the volume of your track to the others with your ears. For that, only use your ears and avoid metering tools. In addition, this stage can happen regardless of your mastering chain, so you may need to lower the volume of your reference tracks until they match your current track.
- Grab a spectrum analyzer (you can use the free Voxengo Span), and put it in the master bus after your limiter. Set it with 16384 blocks and the lowest refresh rate possible.
- Now that they sound like they are at the same perceived level, open the spectrum and check how loud the kick of the other track is hitting. Let’s say the reference track’s kick is hitting at -12db.
- Boom! Now you have a way of finding the anchor point of your kicks.
Using this process, you’ll be able to put your kicks in a position in your mix you’ve liked before. Feel free to raise or lower it afterwards, but use this point you’ve found as an anchor for the future. In addition, you won’t be stuck with any rule that fixes it in a certain DB level and you’ll be able to mix your track relative to how loud your track is.
Lastly, don’t forget to make it mono. Again, not a rule, but it’s something I always do in my tracks because in my perception that’s where they should play in the stereo field.
Do You Need to Have Your Kick in Key With the Track?
As with any music tip, it depends.

Think about a band. They have one bass drum (kick) which is tuned in a specific tune and, with every hit, it becomes a tiny bit off-key from its original note. In addition, during a show, the drummer would tune the bass drum initially, but then the band would play tracks where the kick is in key and tracks where it isn’t. So, can you really argue it needs to be in key? My suggestion is as follows:
- Pick 5 tracks you like in the same key as the track you’re making
- With a spectrum, analyze which note their kicks are playing. Let’s say 3 are in A and 2 are in G.
- Bam! You now have a selection of notes that you can safely go to since these tracks have kicks that work. Since you’ve liked how they sound in other tracks, you’ll probably like it in your track as well. For example, I prefer kicks in A or G# because I like this tone in other tracks and, therefore, I apply it to my tracks as well.
Check the video below to understand better how you can do it or check out this post:
Now it’s your turn
You now have my way to choose and mix your kicks perfectly in your tracks
Now I’d like to hear what you have to say:
Do you see yourself applying this technique?
Tell me how it worked out for you in the comments below!


